
DragonSword: Awakening Guides
Thirty practical guides for first sessions, combat, heroes, gear, exploration, and endgame—written from current game records and verified sources instead of an unverified tier list.
Getting Started
First sessions, controls, and early choices
 01
01DragonSword: Awakening: Beginner’s Guide: First Hours
Follow the main story, learn one working Tag chain, build only your active three heroes, and explore with a purpose. Here is what to do—and ignore—for now.
Read guide 02
02Controls and UI Guide: Read the HUD and Find Every Menu
Learn what the HUD is telling you, where each system lives in the menus, and how to rebind controls before the story throws a real fight at you.
Read guide 03
03New Player Mistakes: What Not to Spend, Salvage, or Chase Early
The fastest way to waste progress is spending rare tickets, materials, and stamina on the wrong targets. Here is what to hold, what to spend, and what to ignore.
Read guide 04
04Midgame Roadmap: What Changes After the First Regions
The early game teaches you systems; the midgame makes you maintain them. Here is what shifts, what to build first, and how to avoid a leveling wall.
Read guide
Combat Core
Status Ailments, Signal Skills, and rotations
 01
01Tag Chain Team Guide: Build a Three-Hero Rotation That Actually Connects
Learn how status application, Signal activation, slot order, and the connector hero determine whether a three-hero Tag route works in play.
Read guide 02
02Status Ailments Guide: Air, Down, Stun, Bleed, and the Rest
Eight statuses drive the whole combat loop. Learn which heroes apply each one, which Signals consume it, and why the direction decides the combo.
Read guide 03
03Signal Skills Guide: Why They Trigger, Why They Sometimes Fail
A Signal Skill fires when a matching status is present. Learn the four checks that decide whether a Signal appears and how to fix each failure.
Read guide 04
04Advanced Switching Guide: Keep the Combo Alive Longer
Switching is the heartbeat of DragonSword combat. Learn how Signal cadence, stamina, and positioning extend a rotation without breaking it.
Read guide 05
05Team Roles Guide: Opener, Connector, and Finisher Explained
Stop copying teams and start reading roles. Every working rotation is an opener, a connector, and a finisher—this guide shows how to assign them.
Read guide
Heroes & Growth
Unlocking, leveling, and investing in 19 heroes
 01
01Who Should You Upgrade First? A Hero Investment Guide
Choose the next hero milestone by checking team role, unlocked skills, shared materials, and the complete cost to a useful stopping point.
Read guide 02
02DragonSword: Awakening Best Characters & Tier List
See the complete 19-character list and a verified Tag-chain versatility tier list, then compare every hero's skills, roles, statuses, builds, and teams.
Read guide 03
03Hero Unlock Guide: Who Is Free From the Story, Who Costs a Ticket
Some heroes join the roster through the story, others come from the exchange. Learn how to check the source before spending an unlock ticket.
Read guide 04
04Breakthrough & Leveling Guide: Ascension Steps and Their Materials
Levels are the surface; ascension is the wall. Learn how the growth ladder works, which materials each step needs, and where to source them.
Read guide 05
05Skill Upgrade Guide: Spend Skill Points Where the Chain Pays
Skills are the most direct power lever in the game, and the most wasteful when upgraded blindly. Learn which skill to raise first and where the materials come from.
Read guide
Gear & Karma
Equipment slots, sets, Runes, and Karma builds
 01
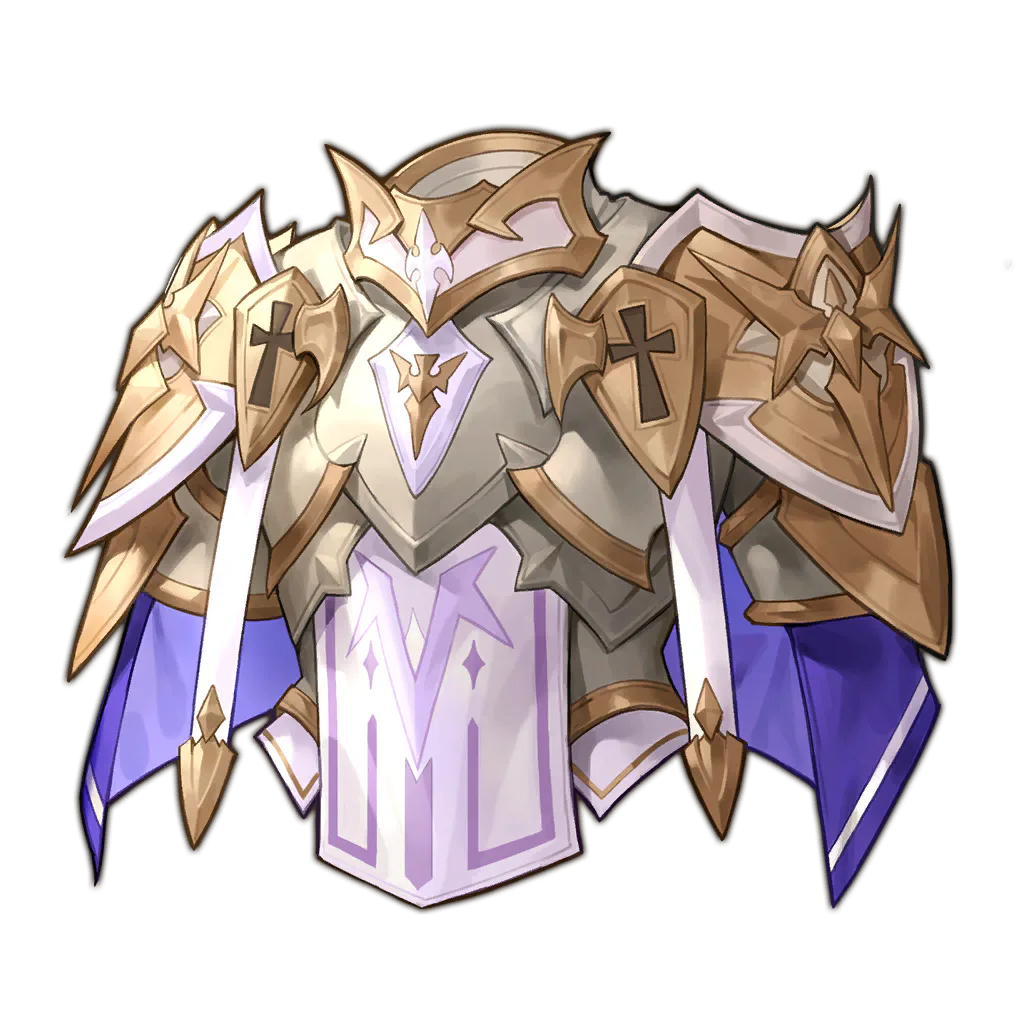
01Equipment Build Guide: Plan Five Slots, Sets, Options, and Runes
Build around compatible body parts and verified option pools, then check set thresholds, enhancement targets, Runes, and the items still missing.
Read guide 02
02Karma Guide: Choose, Ascend, and Match Karma Without Wasting Materials
Separate Karma compatibility, exclusivity, growth steps, and material cost so a strong-looking record does not become an unusable investment.
Read guide 03
03Enhancement Guide: Upgrade, Reroll, and Lock the Right Pieces
Enhancement, option rolls, and reroll locks each spend a different resource. Learn which pieces deserve them and which upgrades are traps.
Read guide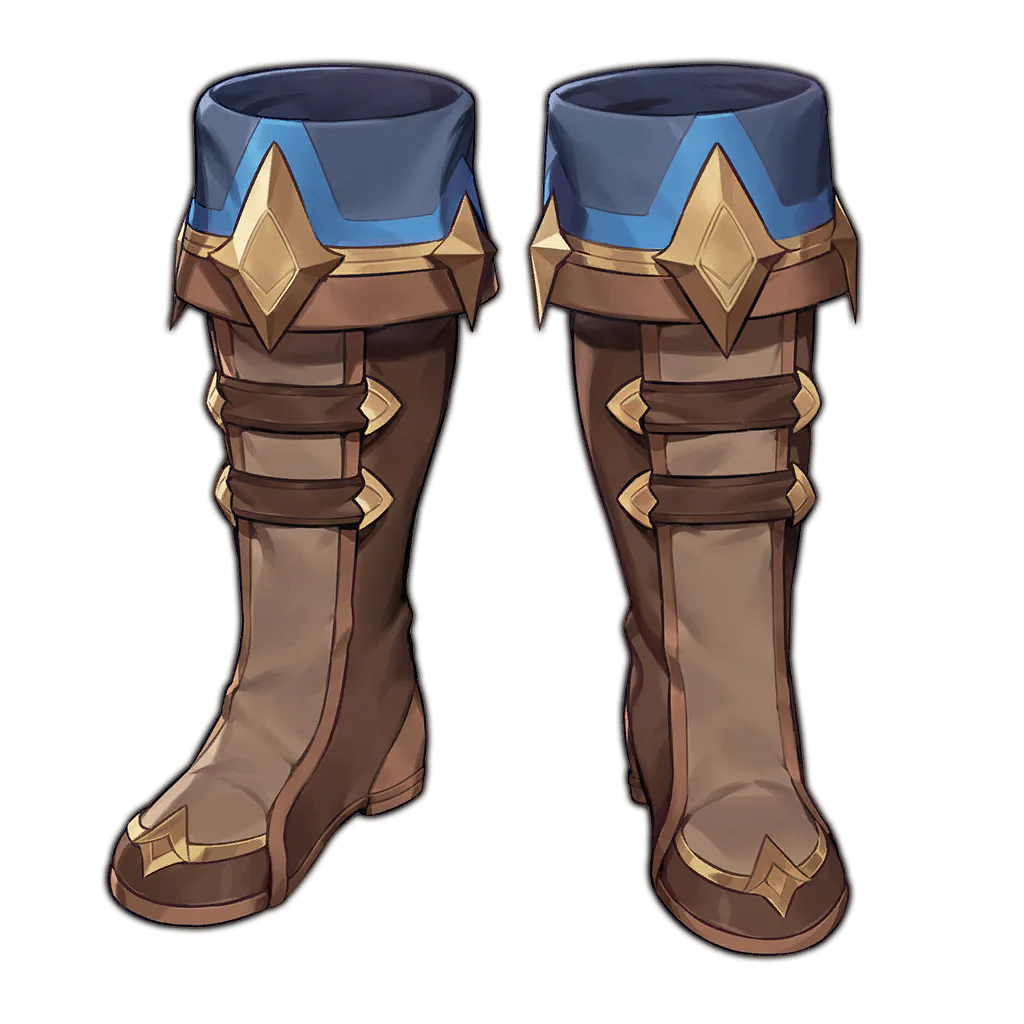 04
04Sets and Runes Guide: Activate Thresholds, Not Just Slots
Set bonuses only matter at their piece thresholds, and Runes add a second layer on the same slots. Learn to combine both without wasting pieces.
Read guide
Exploration & Life
Map routes, Familiars, Cooking, and collections
 01
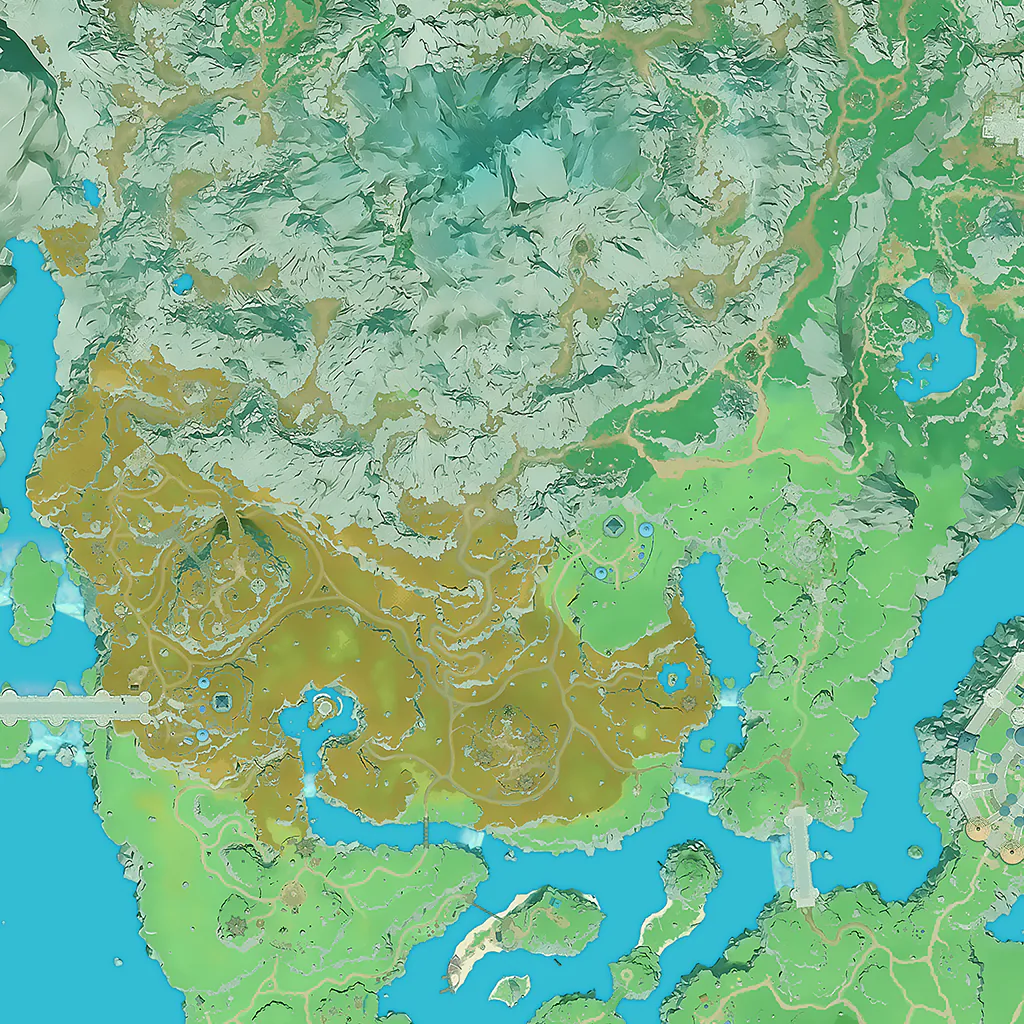
01Orbis Exploration Route: Use the Map for Chests, Resources, and Objectives
Build a readable Orbis route from selected layers and searches, then connect locations to Adventure Book, quest, chest, monster, and resource work.
Read guide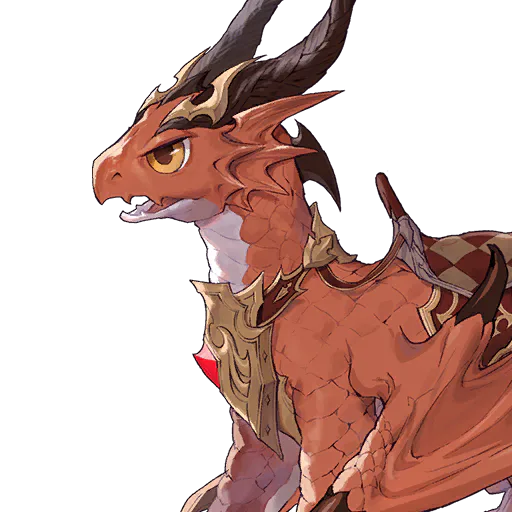 02
02Familiar Guide: Compare Travel Abilities, Sources, and Collection Goals
Compare the published Familiar roster by category and travel ability, then verify acquisition sources and map needs before chasing a collection target.
Read guide 03
03Cooking Guide: Turn Gathered Ingredients Into Buffs and Revenue
The current catalog has 1,025 recipes across three tools. Learn how the dish grades work, which ingredients matter, and how cooking fits the daily loop.
Read guide 04
04Adventure Book Guide: 149 Entries, Five Sections, and the Rewards
The Adventure Book turns exploration into completion. Learn the five sections, the entry types, and the reward thresholds that make the collection worth the detours.
Read guide 05
05Achievements & Dailies Guide: 103 Goals Across Five Categories
The current catalog tracks 103 achievements in five categories. Learn which ones finish themselves, which need a plan, and how the daily missions feed them.
Read guide
Endgame & Progress
Raids, Hunts, Tower of Trials, and completion
 01
01Raid and World Boss Guide: Prepare Teams, Phases, and Weekly Claims
Choose the exact encounter, difficulty, and phase before checking resistances, party order, reward pools, and the shared weekly claim limit.
Read guide 02
02Materials and Crafting Guide: Turn Upgrade Shortages Into a Farming Plan
Translate several upgrade targets into one shortage ledger, verify item sources, and group nearby map work without inventing drop rates.
Read guide 03
03Tower of Trials Guide: Structure, Rewards, and How to Prepare
The Tower of Trials is the current endgame challenge. Learn what the game records about it, what the community reports, and how to prepare without guessing.
Read guide 04
04Boss Hunts Guide: Hunt Arenas, Skill Materials, and the Weekly Cadence
Hunts are the dedicated boss arena feed for skill growth. Learn the activity structure, the material stream, and how co-op changes the session.
Read guide 05
05Daily & Weekly Loop Guide: Reset Cadence, Missions, and Weekly Caps
The loop is the engine of steady progress. Learn which missions repeat daily, which activities reset weekly, and how to schedule the week without burning out.
Read guide 06
06Save Progress Guide: Find Unfinished Quests, Adventure Book Entries, and Goals
Read one local save in the browser and reuse its normalized progress across the completion pages to find real remaining work without manual marking.
Read guide 07
07Planning Tools Guide: Use the Build, Material, and Team Pages as a Workflow
The planning pages are a pipeline, not a gallery. Learn the workflow that connects the team builder, build planner, and material planner into one habit.
Read guide