
Orbis combat guide
Boss & Raid preparation
Compare every available Raid difficulty and Orbis field boss by phase stats, rewards, and unlock requirements.
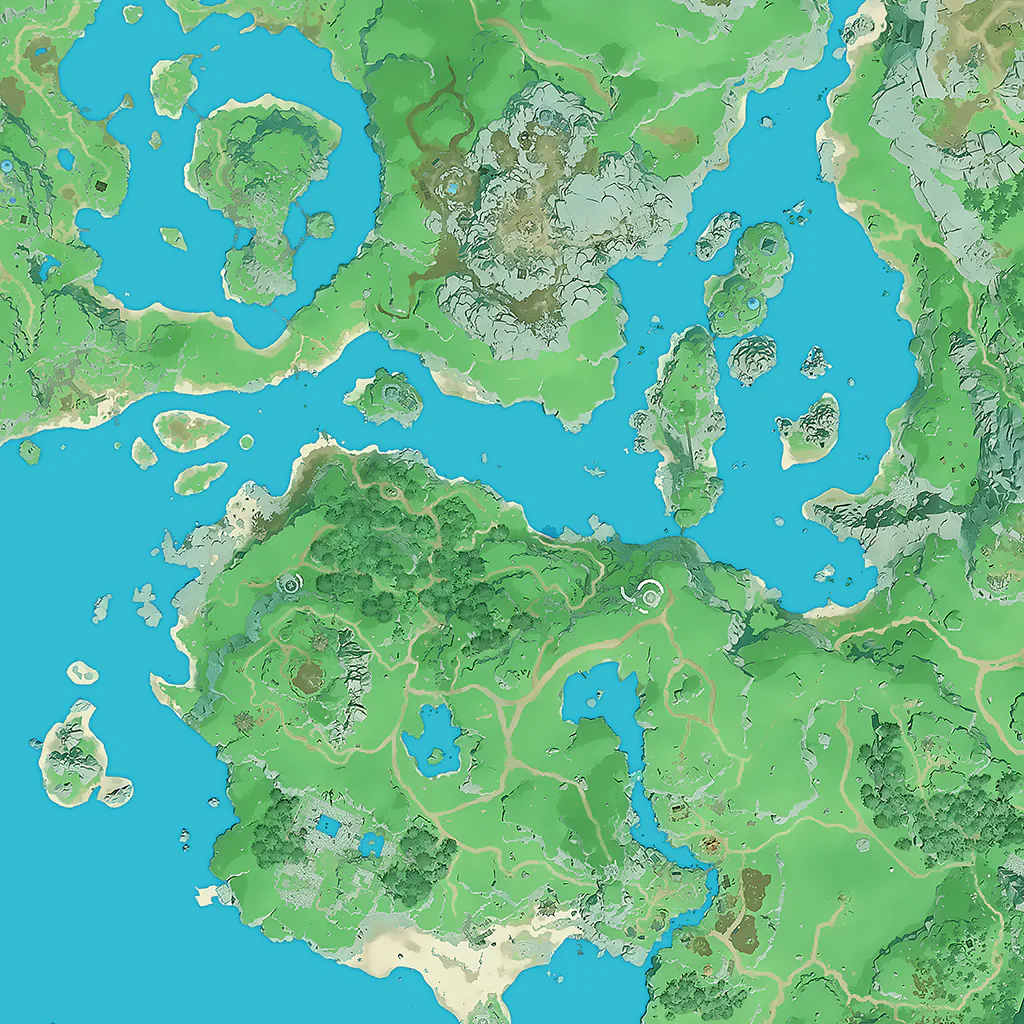
Steelheart Fortress Defense
Gauron
868,524 / 868,524

Guaranteed rewards per claim
 Mercenary Corps Rank EXPRare800100.0%
 Adventurer's EmblemRare15100.0%
 Anonymous Artisan's Crafting ToolLegendary1100.0%
 Shape GrinderLegendary1–3100.0%
Random reward pool 1
3 draws Rune of Damaged DeterminationNormal115.0%
 Damaged Rune of ProtectionNormal115.0%
 Rune of Damaged VitalityNormal115.0%
 Rune of Damaged ConcentrationNormal115.0%
 Rune of Damaged AmplificationNormal115.0%
 Intact Rune of DeterminationSuperior15.00%
 Intact Rune of ProtectionSuperior15.00%
 Rune of Full VitalitySuperior15.00%
 Unbroken Rune of FocusSuperior15.00%
 Rune of Unbroken AmplificationSuperior15.00%
Random reward pool 2
2 draws Battle Will HelmetLegendary16.67%
 Battle Will TopLegendary16.67%
 Battle Will PantsLegendary16.67%
 Battle Will GlovesLegendary16.67%
 Battle Will BootsLegendary16.67%
 Ballad of Life HelmetLegendary16.67%
 Ballad of Life TopLegendary16.67%
 Ballad of Life PantsLegendary16.67%
 Ballad of Life GlovesLegendary16.67%
 Ballad of Life BootsLegendary16.67%
 Intruder HelmetLegendary16.67%
 Intruder TopLegendary16.67%
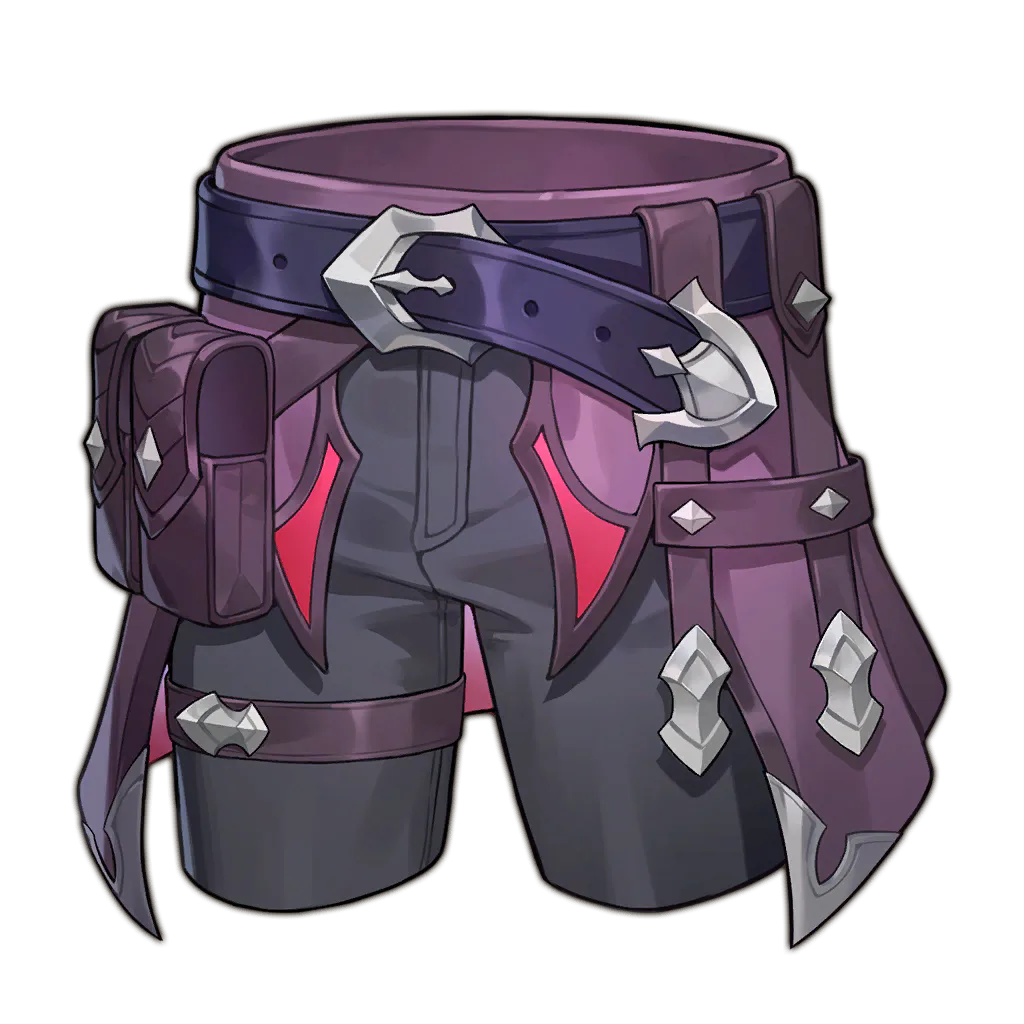 Intruder's PantsLegendary16.67%
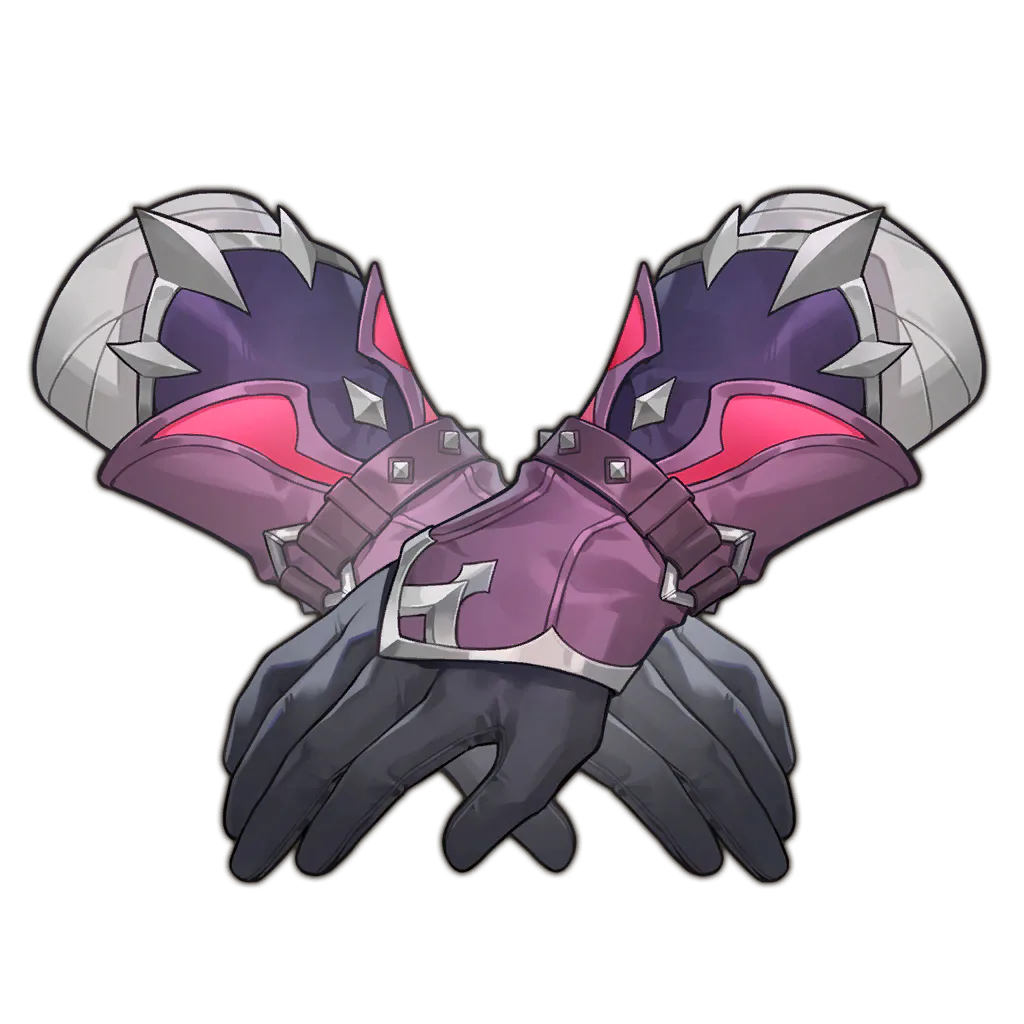 Intruder GlovesLegendary16.67%
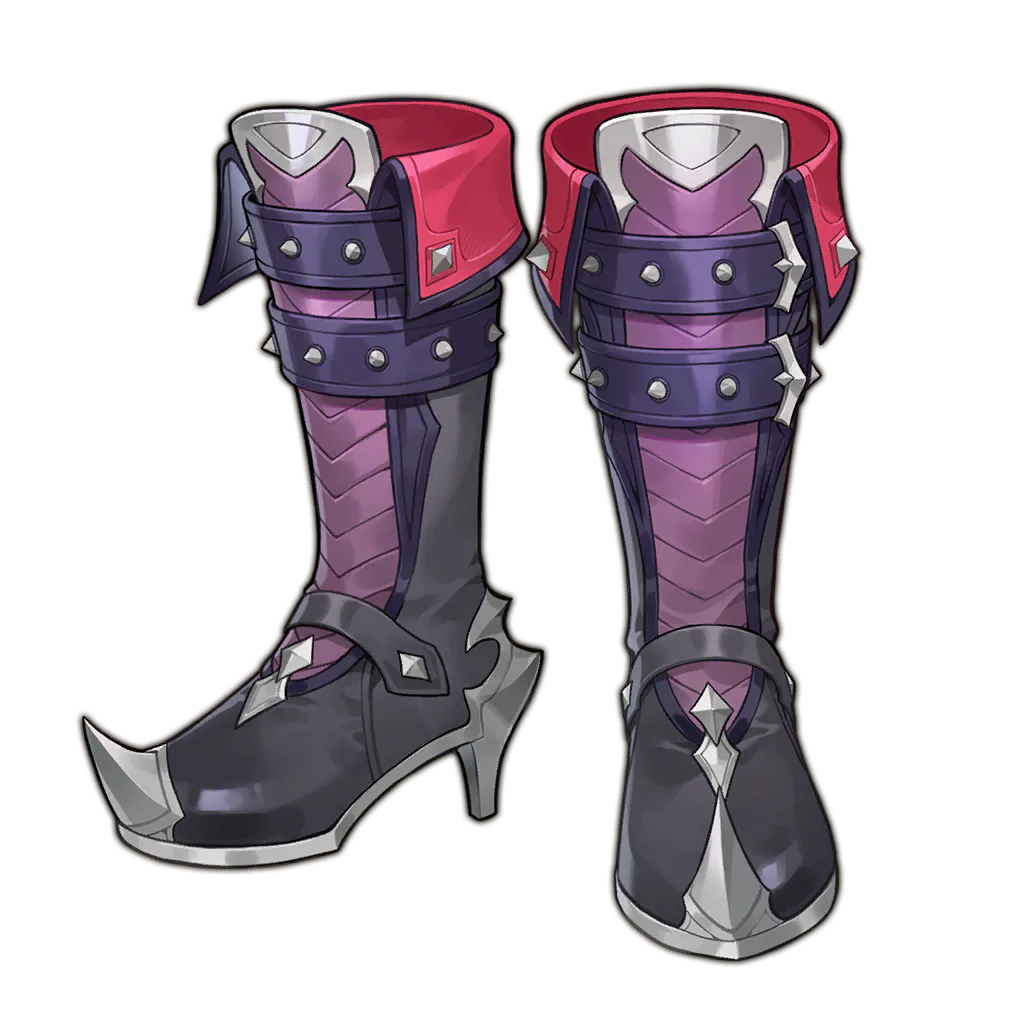 Intruder BootsLegendary16.67%
Claiming Raid rewards uses one of the three rewards shared across all Raids each week.
Bosses & Raids
How to prepare for DragonSword: Awakening raids and field bosses
Compare the encounter values above, then plan your team and weekly rewards.
Choose a difficulty
Gawron and Ursula each have Easy, Hard, and Very Hard modes. Easy unlocks through its listed main quest, and the higher tiers unlock in order. Recommended power is an unlock guide, not a performance score.
The boss and Raid page helps answer which encounter and difficulty the party is actually preparing for. Start with Raid or world boss mode, then select the named encounter, difficulty, and phase or form. Gawron and Ursula use an ordered difficulty chain, so a higher tier must not be planned as though it were already unlocked. Recommended power and party size provide entry context, while the selected phase supplies the combat details that should guide resistance and team checks.
Compare encounter forms
Each difficulty has three combat forms. HP, Attack, Defense, critical parameters, Super Armor, movement, control immunity, and status resistances vary by form, so select the phase you need to prepare for.
Use Rewards, Phases, and Resistances as separate questions. Guaranteed reward rows describe what one eligible claim awards; random pools show their draw count and selection share without promising a specific result. Phase comparison reveals changes in statistics, Super Armor recovery, or form behavior. Resistance panels distinguish status resistance, damage taken, duration, armor reduction, and break behavior where listed. Preparing one selected phase avoids blending numbers from different forms into a boss profile that does not exist.
Understand Raid rewards
Guaranteed rows are awarded once per claim. Repeated random groups are shown as multiple draws, and selection share is calculated from the listed weights. Reward claims are shared across all Raids and reset weekly.
Raid claims share a weekly limit across the listed Raids, so reward planning should compare the value of a claim before it is spent. Field bosses use the known Orbis rotation pool and order, but the page does not invent a live timetable or claim that the highlighted boss is active now. The map link identifies the known location. Default team selections and local changes are planning inputs; they do not mean that a party meets damage, survival, positioning, or execution requirements.
What to compare before committing
Use this section to connect the page’s visible result to the decision you need to make.
Choose a difficulty the account can unlock, inspect every phase that changes the fight, and then compare team tools against the listed immunities and resistances. A hero who supports a status chain elsewhere may lose value when that control is resisted, while a safer team can be more practical than the highest theoretical damage. Reward pools should be compared after unlocks and weekly claims, not before. The workspace does not simulate final damage, enrage timing, animation windows, or live party performance.
What to check next
Use this section to connect the page’s visible result to the decision you need to make.
Before entering, confirm quest prerequisites, previous-difficulty clears, party size, selected phase, resistance profile, and remaining weekly claim. Follow the team builder for status routes, the build planner for compatible loadouts, and the map for field-boss travel. If the current world boss or a random reward is uncertain, verify it in game rather than treating rotation order or selection share as a guarantee. Revisit the encounter after balance or reward updates; exact values may change even when the boss name stays the same.